


As the article cover displays, before becoming a gigantic building, a mighty house starts from the basic building blocks. If you can't explain a topic to its basics, you don't really understand that topic. Hence, the need to start here.
There are five core modules that comes with Node;
httpLaunches a server and send requestshttpsLaunches a SSL (secured) serverfs (File System)classes, methods, and events to work with file I/O.osoperating system-related utility methods and properties.pathprovides methods for working with file and directory paths.
Before we continue, you can go to the Node official website to download and install Node on your computer. I also trust you have an IDE on your computer with which to code, be it Sublime Text, VS Code, Webstorm (which I use primarily), Atom, anyone you are comfortable with.
Opening a new folder where I would be working and below is a screenshot of my screen, create a file, app.js.
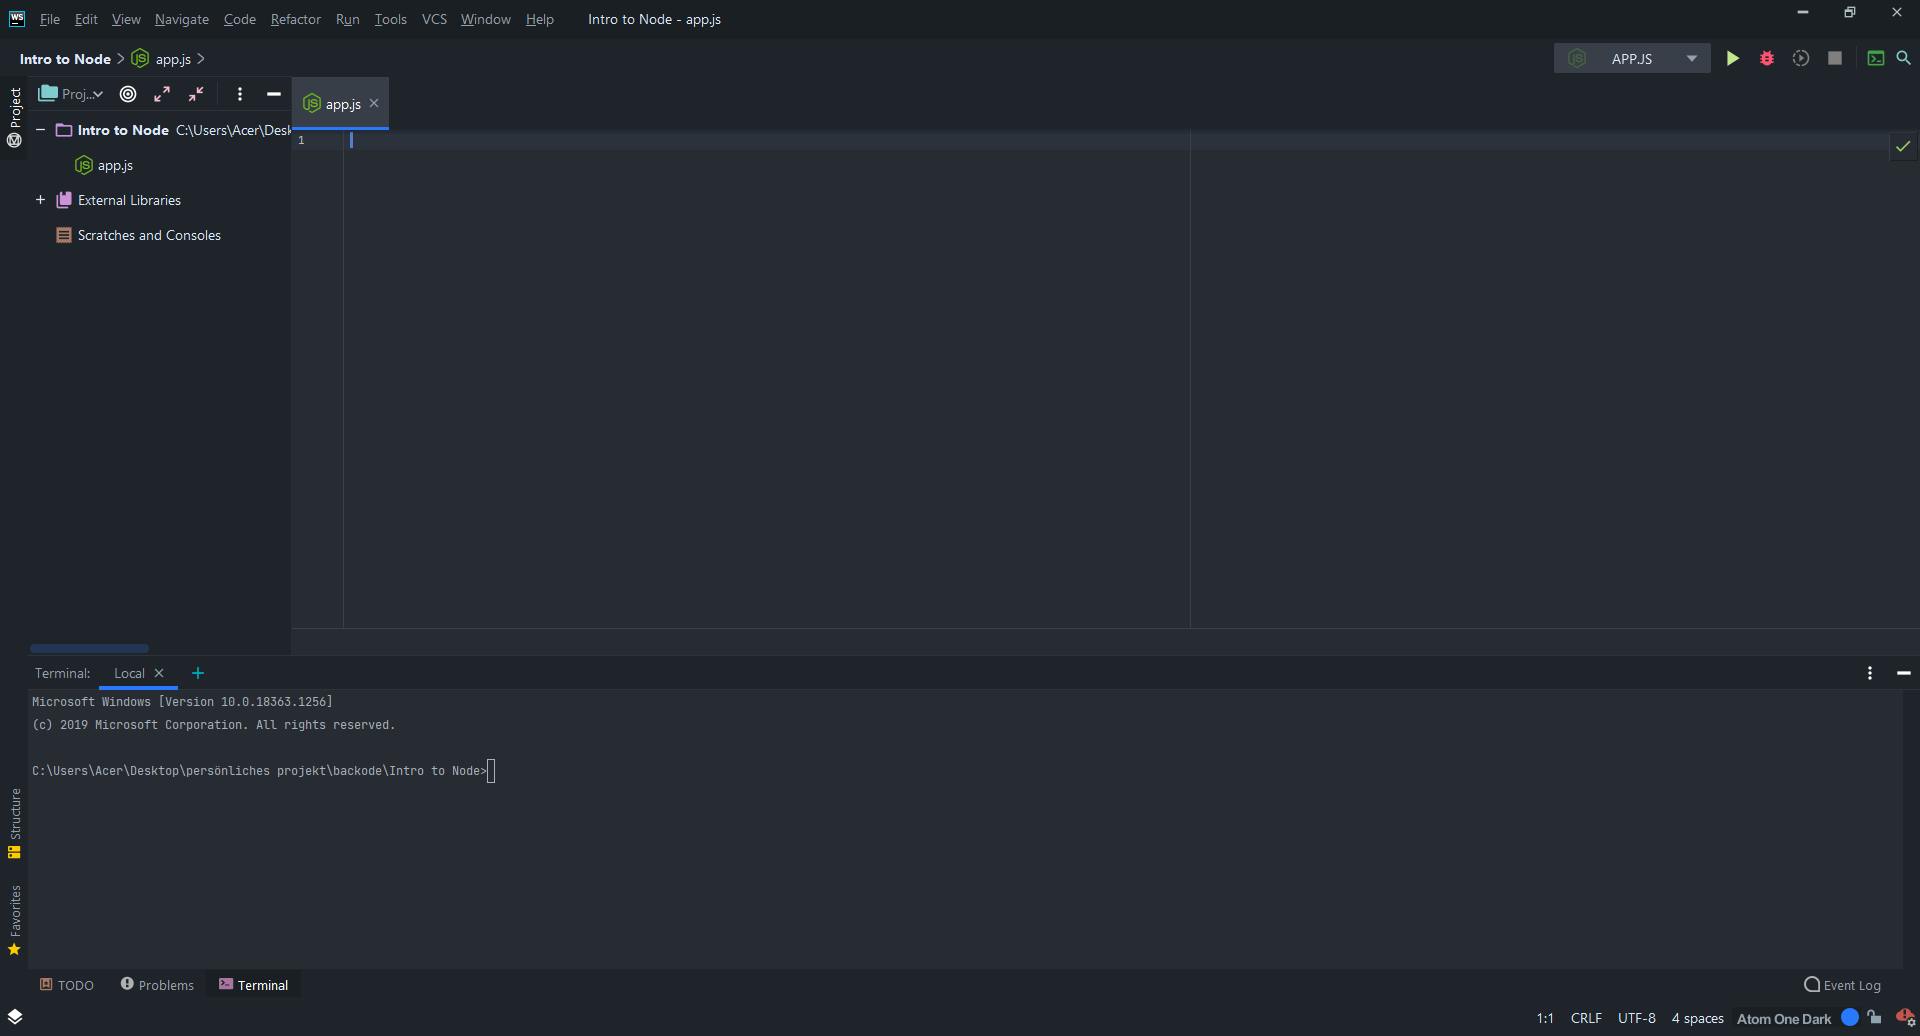
This app.js will be my main Node file. Other files would be connected to this one file one way or another. The app.js file is the entry file to my Node application.
As you might have learnt from the core modules list of Node, the node HTTP module can be used to create a server. So here we go:
We obtain the http object by importing the http module. How does one import?
const http = require('http');
Remember these core modules, one of which is the HTTP module, are all shipped with NodeJS. Whenever you want to use the functionalities from any of these modules, you import them first.
To create a Node server, we are using a method in the http object. This method is termed createServer .
const http = require('http');
http.createServer();
If you hover on the createServer method on your IDE, you should see that the createServer method accepts another function. Here is a screenshot of my screen when I hover on the createServer function.

This function that is accepted as an argument by the createServer method is called request listener. This request listener is a function that would run on every incoming request, say for example for every call you make to the server, the request listener would always be executed. Let us define the request listener and pass it into the createServer method.
const http = require('http');

function requestListener(req, res) {
console.log(req);
}

http.createServer(requestListener);
Or if you are familiar with the ES6+ arrow functions, then you can write it as:
const http = require('http');

http.createServer((req, res) => {
console.log(req);
});
To now create the server, we can declare another variable called server. This server variable would be used to store the createServer and we would pass a port number where we would use it to access our first Node server.
const http = require('http');

const server = http.createServer((req, res) => {
console.log(req);
});

server.listen(3000);
To launch the Node server, you can open your computer terminal or IDE terminal, navigate to the folder where you have create the app.js, our entry point file. The input node app and press Enter.
You can open your browser and launch your host, localhost:3000.
Congratulations Genius🔥🔥, you have created your first Node Server. Awesome Sauce. You can check your console Terminal to see what was logged into it. That data is what constitutes your browser request to the server that you have created. This request data is what would be processed to determine which kind of response will be returned to the browser or whoever is asking.
My next post would be on looking into this request data.✌✌🤞